

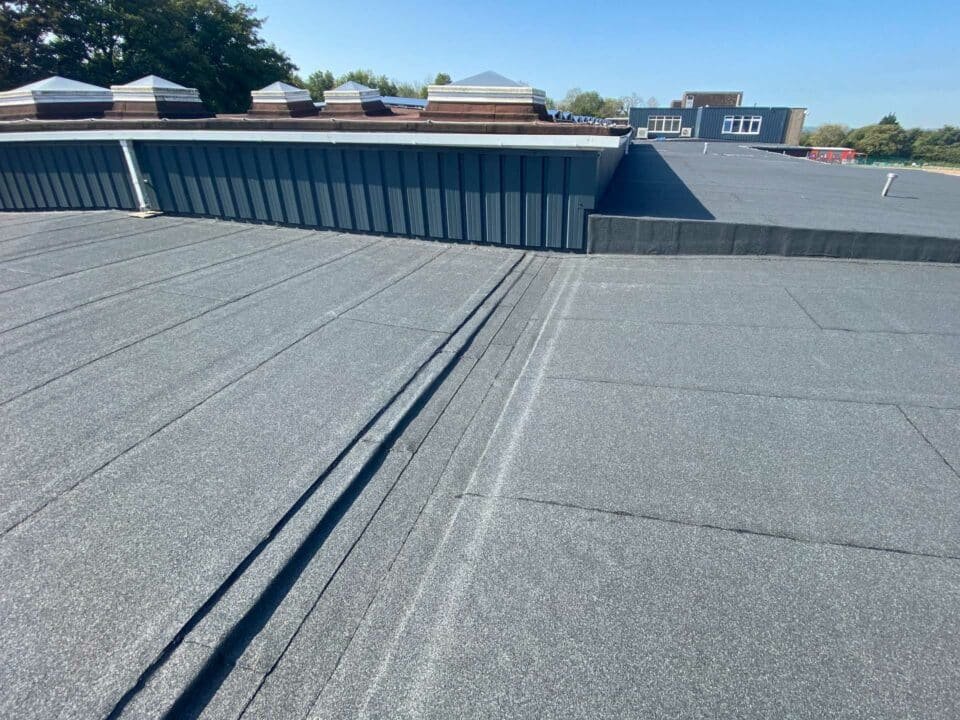
Choosing a commercial roofing system becomes much easier when you stop thinking about the membrane as an isolated product and start thinking about the entire building. Asphalt-Based Roofing Systems, particularly built-up roofing assemblies, use multiple reinforcing plies incorporated with bituminous materials to create layered waterproofing. But those materials are only one part of a successful commercial roof.
Before you specify an asphalt-based system, you need to understand the existing roof, drainage, insulation, substrate, flashing, penetrations, and the way people actually use the rooftop. Follow these three steps to move from basic material selection toward a more complete roofing strategy.
TIP
Start with the building—not the roofing product. The best system is the one that addresses the property’s actual conditions and long-term operational needs.
Step 1: Evaluate the Existing Roof and Building Conditions
Your first task is diagnosis. If the existing roof leaks, don’t assume the stain inside the building identifies the exact location where water entered. Moisture can move within roofing or building components before becoming visible indoors.
Begin with a comprehensive roof assessment rather than concentrating exclusively on the latest problem area.
- Review the roof history. Gather previous inspection reports, repair records, warranty information, photographs, and documentation of major rooftop work.
- Inspect the roof field. Look for visible deterioration, previous repairs, surface changes, damaged areas, and other conditions requiring professional evaluation.
- Check critical details. Examine flashing, penetrations, curbs, perimeter transitions, drains, and scuppers.
- Evaluate drainage. Determine whether water has clear pathways toward designated outlets and identify areas where drainage performance deserves further investigation.
- Consider underlying conditions. If moisture within the assembly is suspected, additional investigation may be necessary before defining the scope of work.
STEP 1 CHECKLIST
✓ Review recurring leak locations
✓ Inspect previous repairs
✓ Check drains and scuppers
✓ Examine flashing and penetrations
✓ Document rooftop equipment and traffic areas
✓ Determine whether further moisture investigation is appropriate
⚠ WARNING
Don’t select a replacement roof simply because the existing system has reached a certain age. Age provides useful context, but physical condition, moisture, repair history, drainage, and building requirements should guide the decision.
Once the inspection is complete, decide whether replacement is actually necessary. Localized deterioration may support targeted repair. Some roofs may be suitable candidates for restoration. Widespread deterioration, significant moisture-related concerns, or repeated failures may make replacement a more practical path.
Only after answering that question should you move to system design.
Step 2: Design the Right Asphalt-Based Roofing Assembly
If an asphalt-based built-up roof fits the project, the next step is designing the complete assembly. Traditional BUR develops waterproofing through multiple reinforcing plies incorporated with bituminous materials. Depending on the specification, insulation, cover materials, attachment components, flashing, and protective surfacing may also become part of the system.
Think of the design process in layers:
- Confirm the substrate. Determine whether existing deck and substrate conditions are appropriate for the proposed assembly and required preparation.
- Coordinate insulation. Treat insulation as part of the roof’s thermal and physical design rather than an afterthought.
- Specify the waterproofing assembly. Select reinforcing materials and asphalt-based components appropriate for the roofing system.
- Resolve critical transitions. Design details around walls, penetrations, curbs, drains, and perimeter conditions.
- Select appropriate surfacing. Protect the underlying assembly according to the specified BUR system.
This is also the stage when alternatives should remain part of the conversation. TPO, PVC, EPDM, and other low-slope systems approach commercial waterproofing differently and may offer characteristics better suited to certain properties.
If your objective is to create Long-Lasting Commercial Roof Systems, don’t interpret “long-lasting” as a guaranteed number of years attached to one material. **Long-term performance is influenced by design, installation, drainage, climate exposure, rooftop activity, inspection, and maintenance.**
TIP
Ask how each component works with the next one. A strong specification should explain the relationship between substrate, insulation, waterproofing, flashing, drainage, and surfacing—not just identify the primary roofing material.
⚠ WARNING
Do not treat drains, penetrations, equipment curbs, and perimeter transitions as minor finishing details. These areas interrupt the broad roof field and require deliberate waterproofing design and careful installation.
Step 3: Protect the Roof with Preventive Maintenance
A successful installation isn’t the end of your roofing plan. It’s the beginning of the roof’s service life, and what happens afterward can influence how predictably the system performs. Weather, rooftop traffic, mechanical servicing, debris, drainage conditions, and ordinary material aging all continue after the installation crew leaves.
Start by establishing a documented baseline. Keep the roofing specification, warranty information, photographs, inspection reports, repair records, and relevant project documents together. Future facility managers and roofing professionals can use that history to understand how conditions have changed.
Then create a straightforward maintenance routine:
- Schedule regular roof inspections. Look for changes before an interior leak becomes the first warning sign.
- Inspect after significant events. Severe weather or major rooftop construction may justify an additional evaluation.
- Keep drainage pathways clear. Remove debris around drains, scuppers, and other water-management components.
- Control rooftop traffic. Know who is accessing the roof and protect frequently traveled areas where appropriate.
- Document repairs promptly. Record what was repaired, where the work occurred, and why it was needed.
STEP 3 CHECKLIST
✓ Establish a new-roof condition baseline
✓ Keep drains and scuppers clear
✓ Monitor flashing and penetrations
✓ Track HVAC and other rooftop service work
✓ Inspect areas with repeated foot traffic
✓ Record repairs and observed changes
✓ Investigate recurring problems instead of repeatedly patching symptoms
Pay particular attention to work performed by other trades. HVAC technicians, electricians, communications contractors, and equipment installers may need legitimate access to the roof, but new penetrations, dropped tools, dragged equipment, or disturbed flashing can create waterproofing concerns.
⚠ WARNING
Never assume a durable commercial roof is maintenance-free. Even a robust multi-ply assembly depends on functioning drainage, sound flashing, controlled rooftop activity, and timely attention to developing damage.
When a problem does appear, return to the same principle used in Step 1: diagnose before deciding. A localized defect may require only a compatible repair. Broader deterioration may justify evaluating restoration. If problems have become widespread or underlying conditions are no longer suitable for continued service, replacement may need to enter the conversation.
TIP
Compare inspection reports over time instead of viewing each one independently. A documented history can reveal whether a condition is stable, recurring, or gradually expanding across the roofing system.
Protect Your Commercial Property for the Long Term
Choosing an asphalt-based roofing system doesn’t need to begin with complicated product comparisons. Start with three fundamental actions: understand the building, design the complete assembly, and establish a maintenance plan from day one.
First, evaluate what is already happening on the roof. Identify drainage conditions, recurring repairs, flashing concerns, rooftop traffic, and potential moisture issues. Determine whether repair, restoration, or replacement is actually justified.
Second, if built-up roofing is appropriate, treat it as a complete assembly rather than a collection of materials. Coordinate the substrate, insulation, reinforcing plies, asphalt-based waterproofing components, flashing, drainage, and surfacing so they function together.
Finally, protect that investment through inspections and documentation. Keep water-management pathways clear, monitor critical transitions, control rooftop activity, and respond to developing conditions while they remain manageable.
The result isn’t a promise that a commercial roof will never require attention. No responsible roofing strategy can make that guarantee. Instead, you gain something more practical: **a roof whose condition can be understood, maintained, and managed rather than one that receives attention only when something goes wrong.**